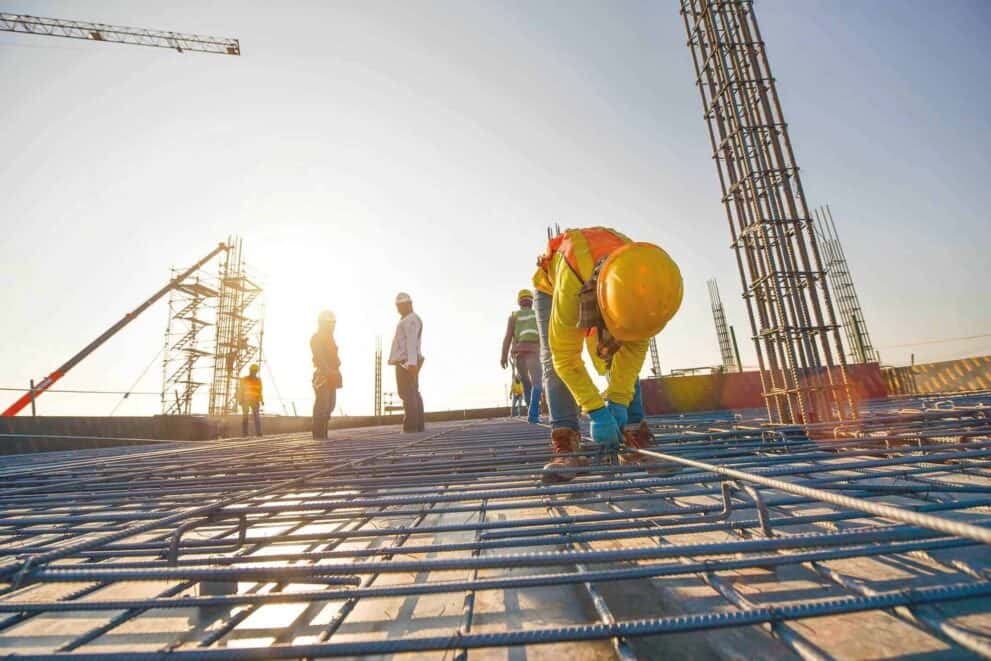
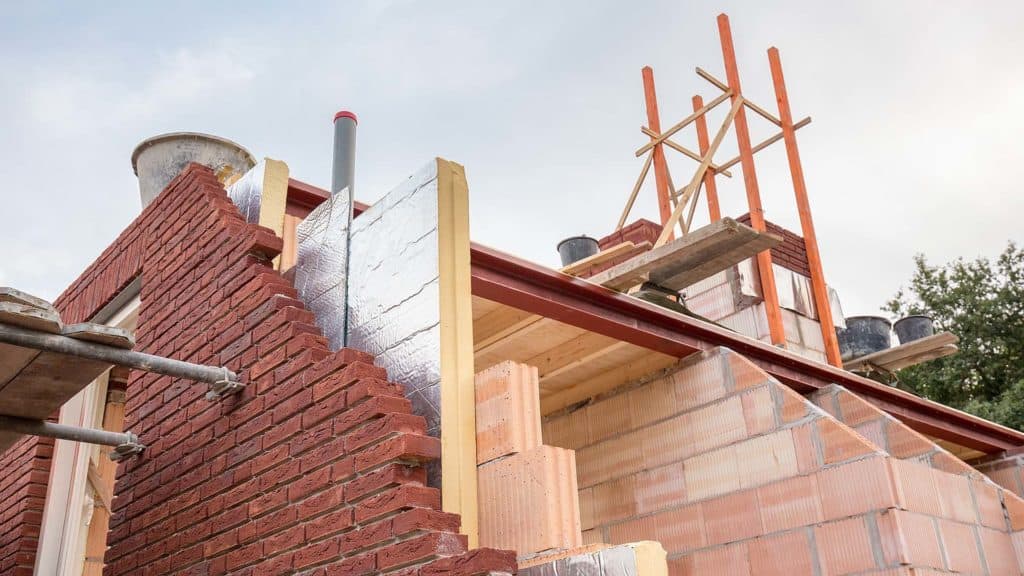
A cavity tray is a damp-proof course that is used to stop the internal skin of the wall from becoming wet. They are usually made of pliable materials like lead, but they can also be performed with a wide range of shapes. This way, they can be used for different cavity widths, corners, and arch shapes. It is worth noting that cavity constructions in the UK were first adopted widely in the 1920s. Cavity trays are used with weep holes to enable moisture to drain to the outside. Weep holes are typically created by omitting mortar from the vertical joints between construction bricks.
In this guide, we will look at some key regulations concerning cavity trays.
Where is a cavity tray required?
Cavity trays are required in modern constructions in the UK. They are included in cavity wall constructions that have penetrations across the cavity. Here are some of the places where cavity trays are required:
• Beneath the walls
• On top of the airbricks, pipes, and ducts
• On top of the concrete slabs
• On top of the windows and doors, as well as any other openings
• At abutments with roofs
Cavity trays also have to be installed at the bottom of walls, but this will only apply if the cavity does not extend 225 mm below the DPC.
Do you need a cavity tray at the DPC level?
Cavity trays don’t have to be installed at DPC levels. The cavity below the DPC should be filled with concrete up to a level of 225 mm below it. Failing to add concrete properly can make the blockwork collapse inward. After filling the cavity with concrete, you can add a cavity tray to the wall.
Are cavity trays necessary on a rendered wall?
Cavity trays with stop ends are required on all openings on the walls. When installing cavity trays on rendered walls, you should ensure that the trays are free of mortar droppings. Where the render is returned back onto the window or door frame at the head of an opening, you will need to install at least two weep holes. You will not need to install weep holes if the render only returns to the toe of the lintel. In such cases, the underside of the lintel will be exposed. You will also not need to install weep holes if the render is not returned.
How do you install a cavity tray in an existing wall?
It is possible to install a cavity tray in an existing wall. In such situations, you can remove brickwork a section at a time, after which you will be able to install the cavity trays. Here are the steps you should follow when installing cavity trays in existing walls:
• You should start by removing three bricks from the wall, and this will form a three-brick long opening. For this step, you can use a disc cutter.
• You can then insert one cavity tray together with the flashing intended for dressing over the finishing of the roof. This flashing should go about 50 mm into the walls.
• Next, you will have to place two bricks in the cavity tray, and these have to be bedded fully in mortar. This way, the structure will be stable and firm.
• In the middle perp, you will be able to incorporate weep holes.
• The next step is to remove two more bricks so that you get another three-brick opening. The flashing can then be extended, and a second cavity tray will be installed.
• To join the cavity trays, you will have to use clips. This way, no water will be able to penetrate the walls.
• After installing the second cavity tray, you will have to replace two bricks and repeat the procedure until the entire run is complete.
When drilling weep holes, you should be careful to avoid cracking the walls.
Here are some points you should note when installing cavity trays:
• The installation runs should be from left to right.
• You should also check the wall to ensure that your cavity trays will be suitable for use in the structure. You may need to contact the supplier of the cavity trays to see whether they can be used on the existing wall.
• All adjoining cavity trays have to be level and must be in alignment.
• The cavity should be free from debris and should be cleared before you start installing the cavity trays.
Another way of installing cavity trays on existing walls is to insert self-supporting cavity trays through slot cuts in the wall.
Conclusion
Cavity trays are essential in buildings, and this is because they keep the internal skin of the wall dry. They are usually installed along with weep holes. As noted in this guide, you can install cavity trays in existing walls, and this can be done by removing bricks from the structure. You can also insert the cavity trays through slot cuts in the walls.
Why choose Buildsafe?
At Buildsafe we see ourselves as a specialist independent advisor providing clients with tailored policies for each development helping them to make well-informed decisions. Our experts have over 40 years of experience in the property sector so you can be assured that your Building Warranty will be handled with great care. Our team is there to manage the process for you ensuring you receive the best price from the market saving you a lot of time and money.
To speak with a specialist broker call us on 0203 701 0422 or fill out our online enquiry form.
Further Reading
Read our latest articles on Kitchen Socket UK Regulations and Stair Regulations in the UK.